"Coding with Passion"
Services
We are DC-based, full-service web, mobile & TV app design and development studio. Originally founded in 2008 with the mission to build useful and industry critical products that transform organizations and make a difference in people’s lives, our company has brought together a talented group of people sharing the same passion with different sets of expertise.

CREATIVE
- Web/Print/UI/UX
- Mobile App Design
- TV App Design
- Responsive Design

DEVELOPMENT
- Website and Web Platfom Development
- Mobile App Development
- OTT/TV App Development
- Analytics

PLATFORMS
- iOS, Android, Windows Mobile
- Roku
- Samsung SmartTV
- Google TV
Projects
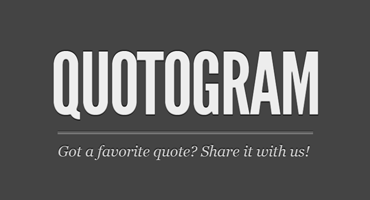
Quotogram
a mobile app that allows users to discover, organize, and share quotes with friends. With Quotogram, users can learn more about the context and when, where, and who said quotes of interest.
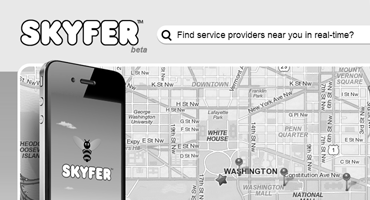
Skyfer
a web and mobile app that connect consumers with local service providers. With Skyfer, users can search for professionals, located nearby, see their skills, ratings, scores and chat with providers in real time.
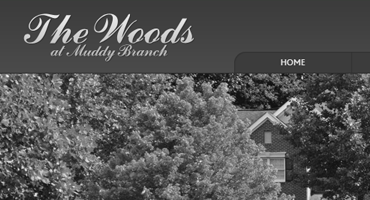
Woods at Muddy Branch
community portal for WMBC residens. With this website the residens now are able to update their records, see financial documents securely and communicate with management on a daily basis.

Chris Walling
"Working with mdisoft was an unique and rewarding experience"
Team
We’re a passionate group designers, developers and product people capable of building everything from simple websites, complex mobile apps, SmartTV applications, to massive video platforms that will revolutionize the future of television.
Contact
Drop us a Line!
We want to hear from you. Whether you’re a prospective client, interested in joining the team or simply a fan of our work, say hi!